
.JPG)
.JPG)
* StazOn ink pad in color of your choice
(I used Saddle Brown)
* Rubber stamp of your choice
(I used a Tim Holtz Shabby French
small script stamp, I purchased mine at Hobby Lobby at half price
sale. Don't forget if you order online to use that coupon code! )
* OPTIONAL: Liquitex Matte Gel Medium and Martha Stewart Crystal Fine Glitter
* Center Embellishment: a vintage earring, ornate button, bead pearls, or object of your choice
OPTIONAL: Self-cover buttons or use the provided mini tutorial for creating a portrait button embellishment.
NOTE: if you decide to create a portrait button you will need the following:
Photo of your subject
(a relative would be nice or I have provided you with some vintage images to use with this lesson)
Scanner and Printer
cotton muslin
quilt batting
needle and thread
1 inch plain button or 1 inch circle of foam core or corrugated cardboard
* Scissor
*Instant Coffee
* Warm Water
* Spoon and Small Bowl
OPTIONAL:
Piece of cotton muslin to dry cheese cloth on, this way you get a
surface dyed piece of fabric for use in another project.
* Embossing Heat tool OR StazOn brown ink
* Needle and Thread
* 26 Gauge Wire
(I used VINTAJ natural brass bronze colored wire)
* Seed beads of your color choice
* Jewelry Pliers, Round-nose, Long-nose, and Diagonal Cutters
* Scraps of lace
OPTIONAL: Copper head pins, seed beads (same as used on leaves), small pearls or crystal beads
*8 beads, I used glass pearl beads
*8 beads, I used glass pearl beads
This lesson will cover making the centrally focused handmade flower embellishment for your cuff.
Select a silk flower that has graduated layers in its construction, a rose works really well:

Take the flower from the main stem, turn it over, and take the flower apart:


Choose two of the flower sections that nest well together, one slightly smaller than the other, on the larger section using a rubber stamp of your choice and a permanent base ink, stamp the petals:

Using the edge of the ink pad or a makeup wedge dabbed with ink, ink the tips of the stamped flower petals as well as the tips of the smaller plain petal set:

OPTIONAL STEP: Once ink is dry you might want to add a little glitz to your flower. Using a soft paint brush, lightly brush matte gel medium or a clear drying glue on your flower petals then dust with Martha Stewart Crystal Fine Glitter then allow to dry. You can use other glitters but beware that all glitters are not clear and they may cover your stamped image:


If desired dry fit your set of nested flower petals on the center of your cuff to play with the center design:

Some suggestions are as follows, a vintage earring, this would be a great keepsake for a single family piece:

A button, this would also be a great memento to use something from your mother or grandmothers button box or a button from a loved ones clothing:

A self-cover button that can be stamped to match the petals, just follow the manufacturers instructions for covering the button then stamp the center of the button using a rubber stamp and permanent ink, ink the edges of the button then allow to dry:


A super fun center would also be a cameo or portrait button. You can use vintage images or an image of a loved one. I have provided three printable sheets of vintage images, one in black and white, one in softened sepia, and the original images that are already sized to fit the center plus a mini tutorial of how to create a cameo or portrait button button below:

PORTRAIT OR CAMEO EMBELLISHMENT

Press a piece of cotton muslin fabric and allow to cool:
.JPG)
.JPG)
.JPG)
.JPG)
TIP: To further seal the image lightly mist with a clear spray sealer and allow to dry. You can also lightly or gently brush a clear drying glue across the image but you run the risk of smearing the image as most home based printers have water based ink.
To save the LARGEST size of the printable images to your computer:
Right click on the image.
Left click "OPEN LINK IN NEW WINDOW"
Then....Left click the image AGAIN.....
you will now have the FULL SIZED IMAGE.
Now you can right click it to "save image as"
and save it to your own computer.
The image sheets below have been sized so that when a full sheet is printed the images will fit on the center disc as described in the cameo or portrait tutorial.


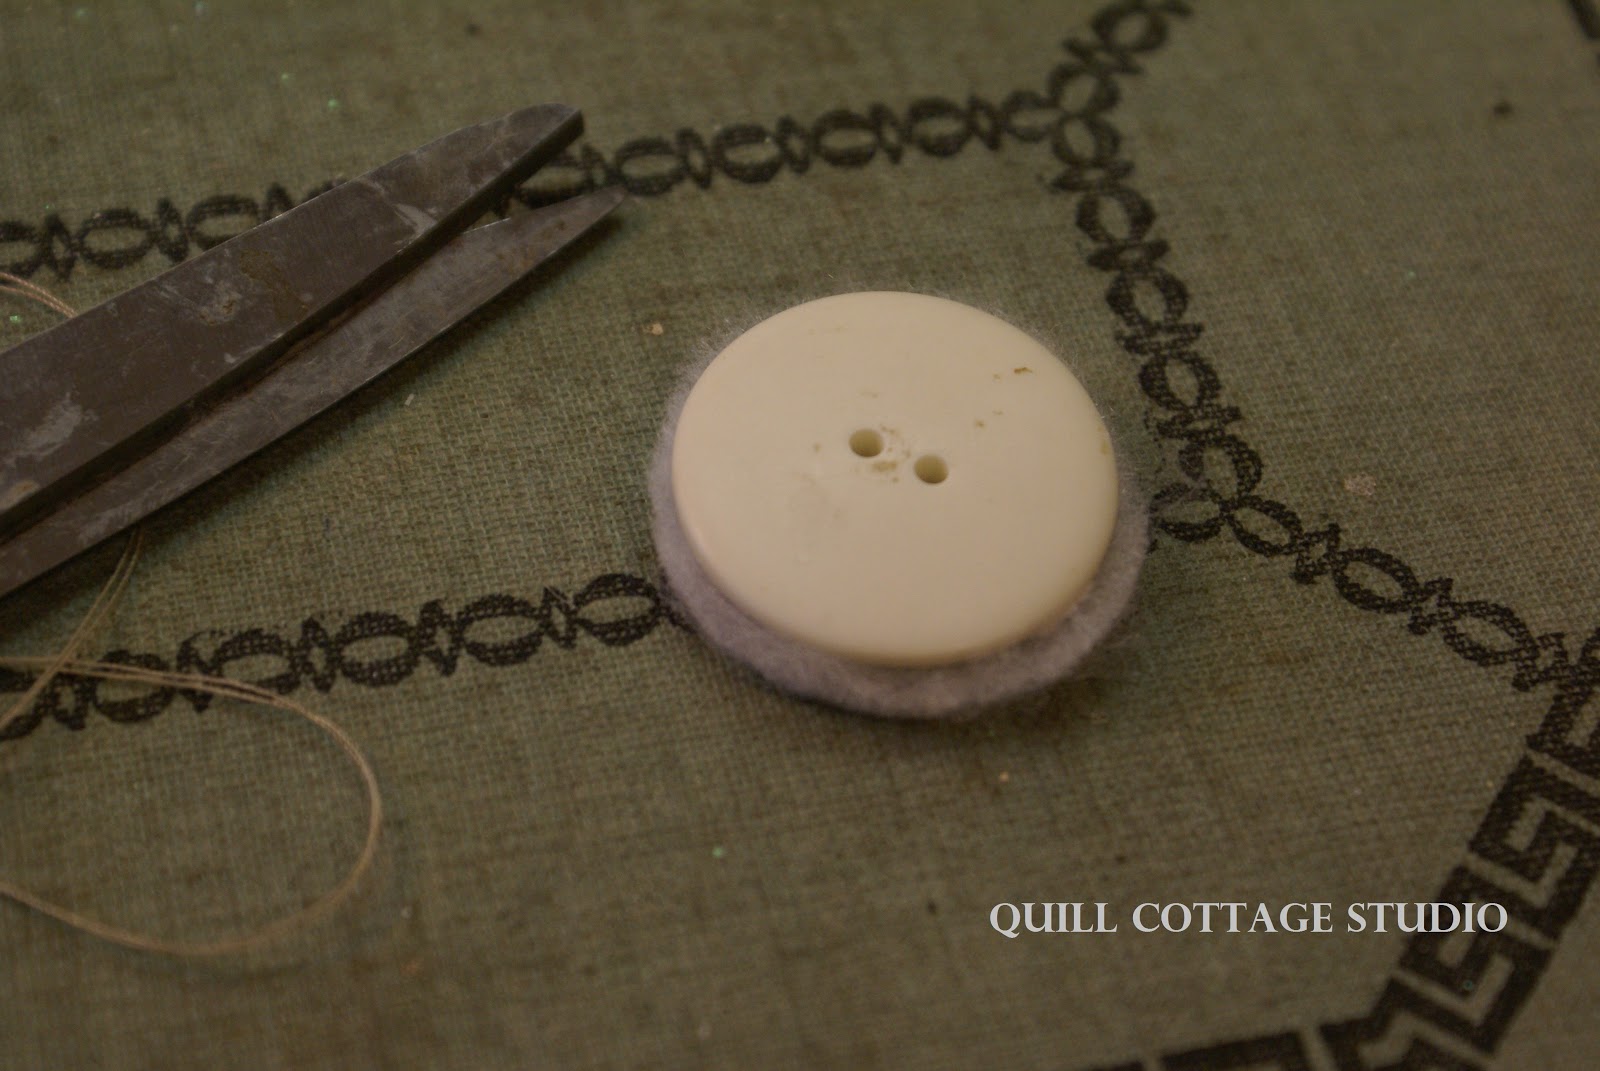
Place a 1 inch to 1 1/4 inch button OR circle of foam core OR circle of corrugated cardboard, on the center of your image (I happened to have a button the size I needed):

Use a pencil to trace a 1/2 inch border around the disc and trim away they excess fabric:

Cover one side of the disc with craft glue:

Press it onto a layer or two of quilt batting:

Trim away excess fabric:
Thread sewing needle then stitch a loose running stitch around the outer circle of the fabric leaving a 1/4 outside seam:

Center image over batting side of disc and gently pull the thread to gather the image around the disc:

Stitch back and forth across the back of the disc closing up the opening then knot the thread and clip away the excess thread:


You now have a cameo or portrait button to feature on your cuff!

Once you have selected your center put this part of the project aside to dye up some cheese cloth that you will need to highlight the center embellishment and the cuff edges.
COFFEE DYEING CHEESE CLOTH

Mix some warm water and some instant coffee in a bowl, stir to dissolve coffee:

You will want to dye at least a 12 inch by 24 inch piece of cheese cloth:

Dunk cloth in strong coffee mixture and let it soak a minute or so:

TIP: I like to double dye so I lay out a piece of muslin on a protected surface and then spread my coffee dipped cheese cloth on the muslin. As the cheese cloth dries the drips and excess wetness will wick into the muslin and give you a cool stained piece of fabric to use on another project, once muslin is dry heat set it with an iron.

Spread cheese cloth out to dry:

Once dry cut five 2 inch squares of the cheese cloth:

Gently pull the squares out of shape being careful not to pull the pieces apart:

Stack the squares on top of each other:

Holding them in the middle between your thumb and finger pull more fibers to make a nest like circle:


Test your central embellishment and see if you need to trim any away, you don't want it to cover the petals of the inside set of petals:

To antique or age the nest of fibers use either an embossing heat tool OR brown permanent ink as described below. If using a heat tool, warm the tool:
WARNING: Keep a fire extinguisher close at hand at all times when scorching fibers. Do this in a well ventilated area.

I use a wooden skewer to hold the center of my fibers when scorching to prevent burned fingers, gently run the heat tool over the surface of the fibers letting them lightly discolor. DO NOT hold the tool too close and catch the fibers on fire.
If using the inking method gently tap permanent ink pad over the fibers and their edges to achieve an aged look:


Thread a sewing needle and gather around the center of the thread as shown below:
NOTE: I used contrasting thread in this tutorial so that you could see the stitching, you will want to use matching thread in case any of it shows.

Stitch back and forth several times through the fiber base then knot thread and snip away excess thread:

Repeat the steps above this time clipping 5 squares of cheese cloth about 1/2 inch all the way around larger thank your choice of flower. Stitch the larger antiqued piece of cheese cloth the center of your cuff:

Place craft glue on the back side of the stamped set of flower petals as shown below:

Place in the center of the cheese cloth base:

Thread a sewing needle and stitch the petals to the base of the cuff, this will reinforce the embellishment hold and keep the petals from being too floppy:

Repeat the step above for the second set of petals:


Fill the center of your flower with craft glue as shown below:

Place the smaller nest of antiqued cheese cloth fibers in the center and press in place:

Choose the center for your design, I finally settled on a stamped self covered button, use craft glue to secure in place. Glue pearls or beads around your center leaving a gap between each bead and allow to dry:

WIRE STAMENS
Gather your jewelry tools, seed beads, crystal or pearl beads, and head pins:

Place a crystal or pearl bead onto a head pin then place 4 seed beads on, clasp the head pin between the round nosed pliers, roll the wire around one side of the pliers as shown below:


Clasp the loop of the wire in the flat nosed pliers and wrap the tail of the wire down and around the beaded wire, wrap at least three times, use the diagonal cutter to clip off the end of the wire, repeat the process until you have made 9 wire and bead stamen as shown below:


Place craft glue on the wire loop end of the stamen:

Glue wire and bead stamen in the gap between each pearl or bead and set aside to dry:


Place one seed bead on the wire leaving a 1 inch tail:


Pull both ends of the wire until the wire is tight against the bead, this locks the bead in place and keeps your other beads from falling off the strand:


Bend the bead strung wire into a "Z" shape with approximately the same size sections, you can just eyeball this it does not need to be exact:

Bring the bottom end of the "Z" up to the top bend and wrap the wire around a couple of times between the beads, repeat with the other end of the wire bringing the top wire down to the opposite side and wrap wire around a couple of times between the beads to secure:


Clip both ends of the secure wire off, repeat to make two more leaves:

Pinch the ends of your leaf then bend and shape beaded leaf. Place your leaf on a scrap of lace. Thread a sewing needle with thread matching your lace scrap:

Sew the beaded leaf to the lace pulling the thread between the beads to secure, sew around the edges and down the middle then trim away excess lace:


Place clear drying craft glue around the edges of the lace on each leaf then spread it lightly over the back of the lace to secure the stitching and stiffen the lace, allow to dry:

Once dry bend and shape leaf as desired, place craft glue on one end of leaf and tuck into flower, repeat with remaining leaves and allow to dry:

The next and last lesson will bring the whole project together with all the finishing touches.
Enjoy!
blessings,
Sandy
Simply amazing, love the way you made the button and those leaves!!! Great instructions BTW. When is that book coming out again? :)
ReplyDelete